Build scenes with OpenStreetMap
OpenStreetMap allows road networks around the globe to be downloaded as a map file and these files can be imported into Traffic3D to quickly generate scenes at a large scale.
Download an OpenStreetMap file
Follow the instructions below to download a map file from OpenStreetMap:
-
Click Here to visit OpenStreetMap.
-
Search the name of the location you wish to model in the textbox.
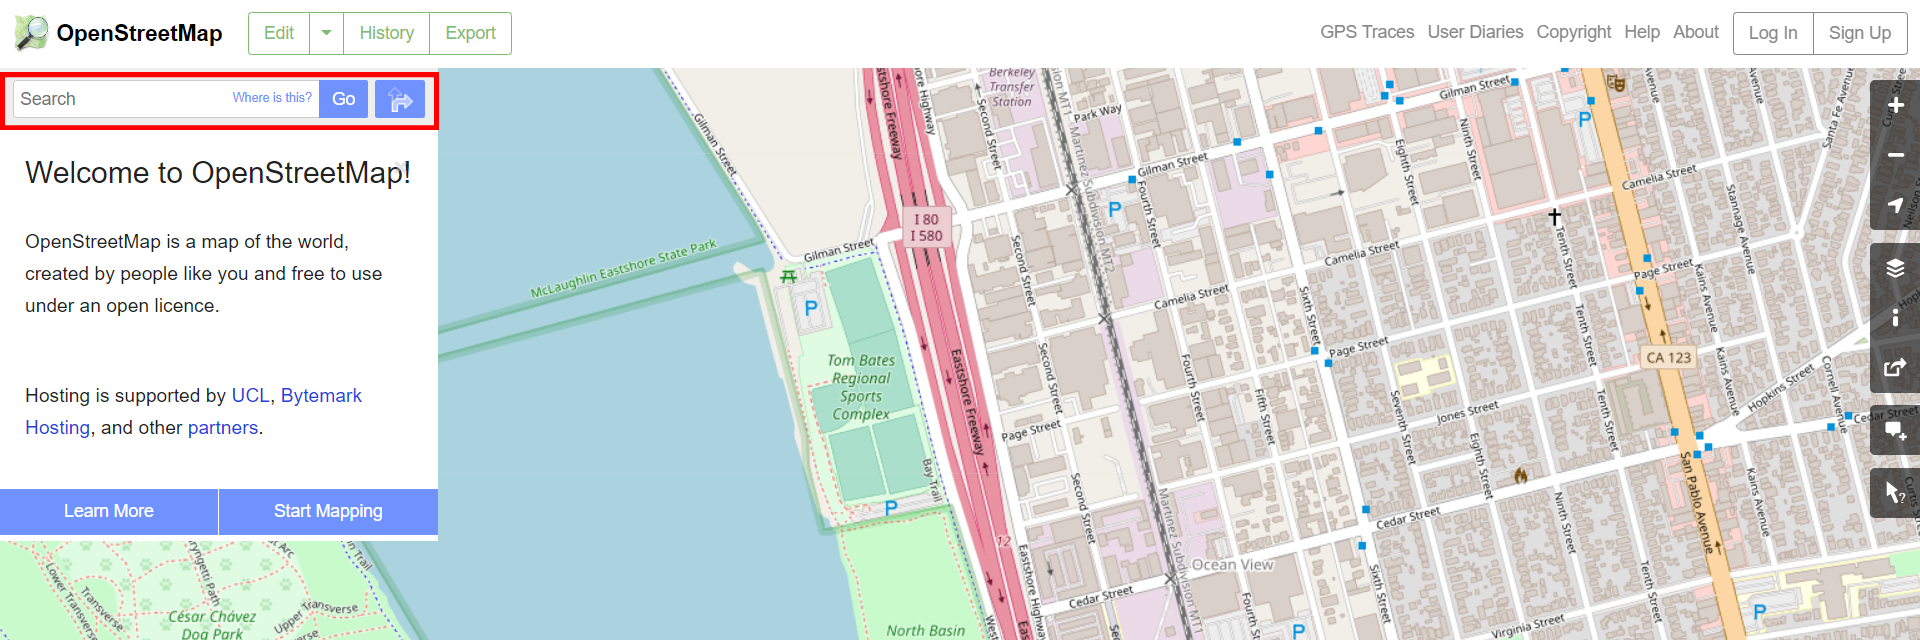
Alternatively, click and drag the map around until you find a location you like.
-
Zoom into the page using the icons provided by OpenStreetMaps or your middle mouse scroll wheel, to capture the part of the road network you wish to model.
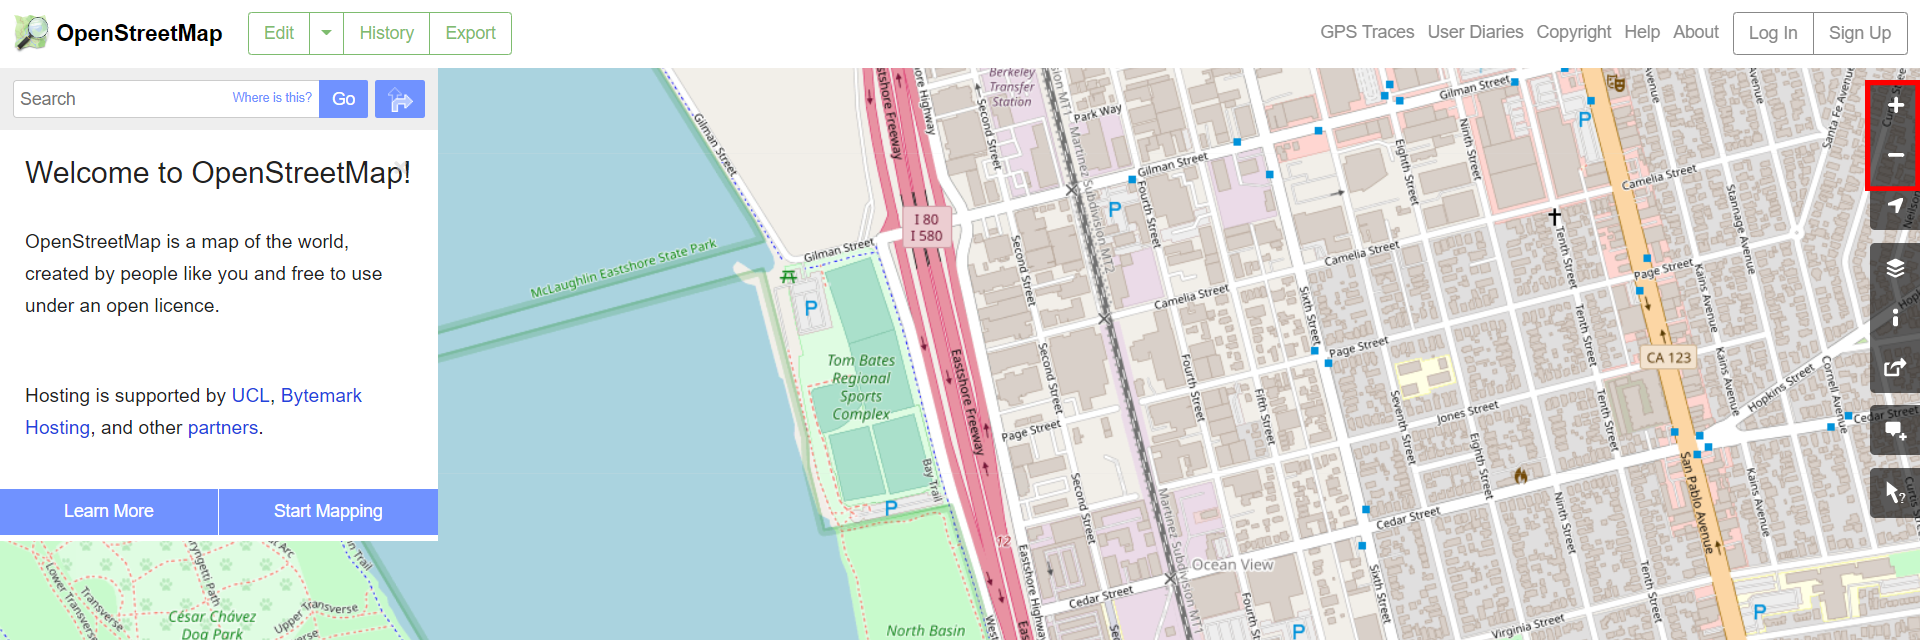
Everything displayed on screen screen will be downloaded into the map file.
OpenStreetMaps has a downloadable limit of 50,000 nodes.
-
To bring up the export UI, select the upper
Exportbutton.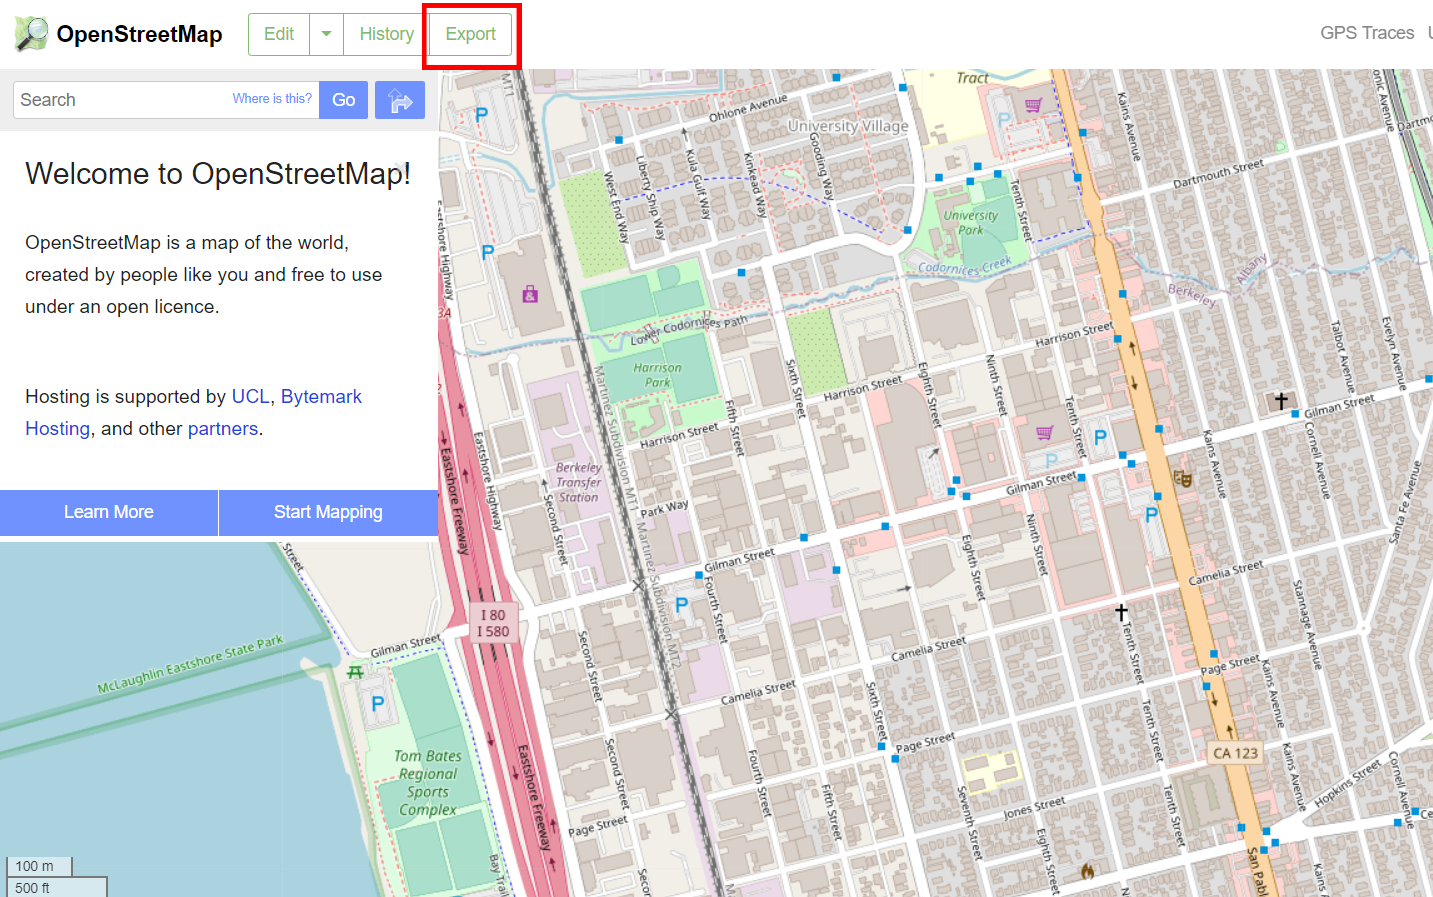
-
To download the map file, select the UI
Exportbutton.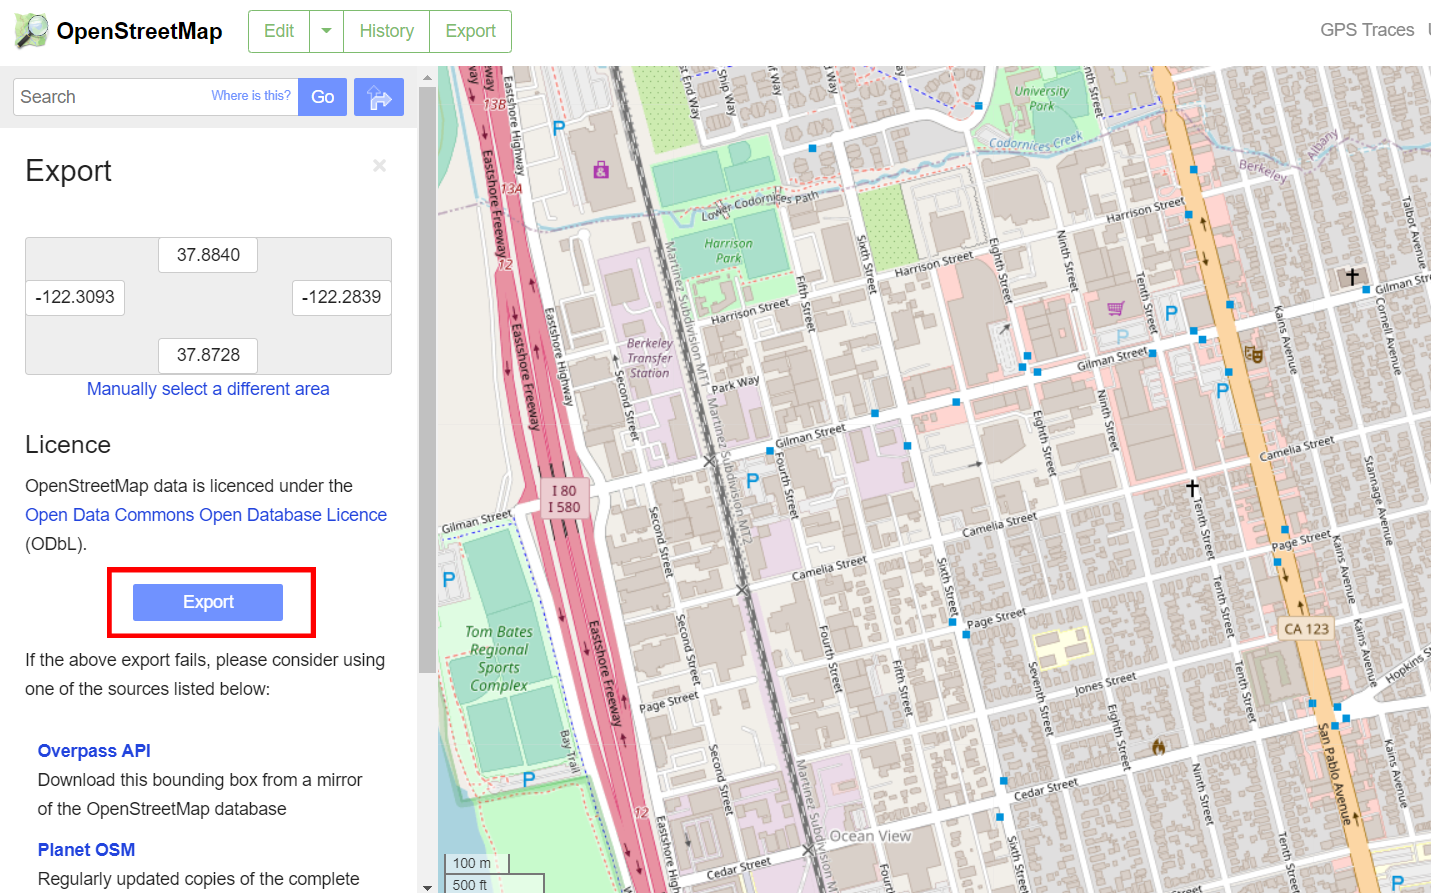
If download failed due to the file exceeding 50,000 nodes, zoom into the page or drag the map around until less roads and buildings are visible.
Import an OpenStreetMap file
Follow the instructions below to import a file from OpenStreetMap into Traffic3D:
-
OpenStreetMap files are
.osmfiles and must be converted into a text file by renaming the file extension to.txt. -
Open up Traffic3D in Unity and add your
.txtfile.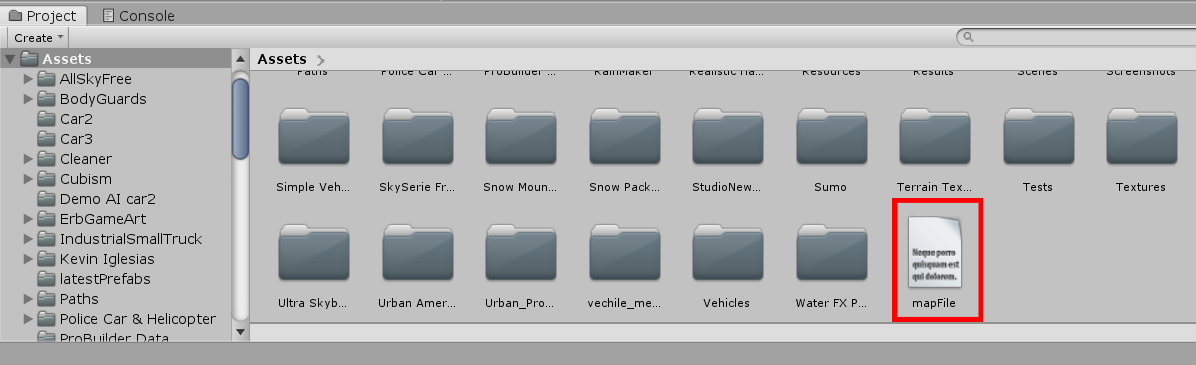
-
Bring up the GUI to import map data:
Traffic3D>Import OpenStreetMap File.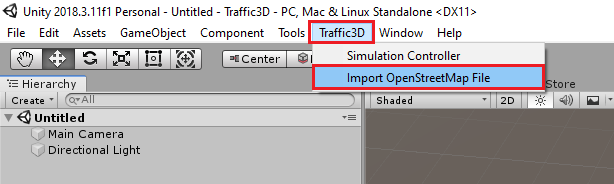
-
Select your desired map file and the textures/materials to apply to the roads, buildings and floor.
Select the circular buttons on the right to choose your textures.
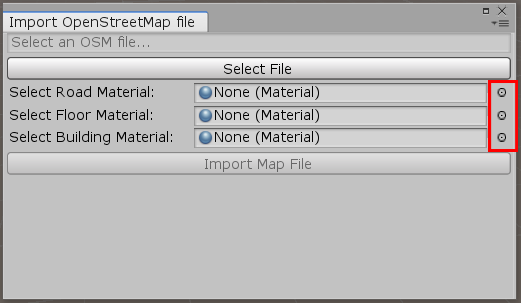
Note: You will be unable to select
Import OpenStreetMap Fileif you are not in a new Unity Scene. -
After a few seconds, your scene will render and the only remaining requirement is to customise the Vehicle Factory.
Information about the Vehicle Factory can be found at Traffic3D Assets.
After modifying the Vehicle Factory the simulation can be run.
Note: It is advised that the top-speed and turning speed of vehicles are reduced to prevent vehicles accelerating too quickly towards corners and driving off the roads.
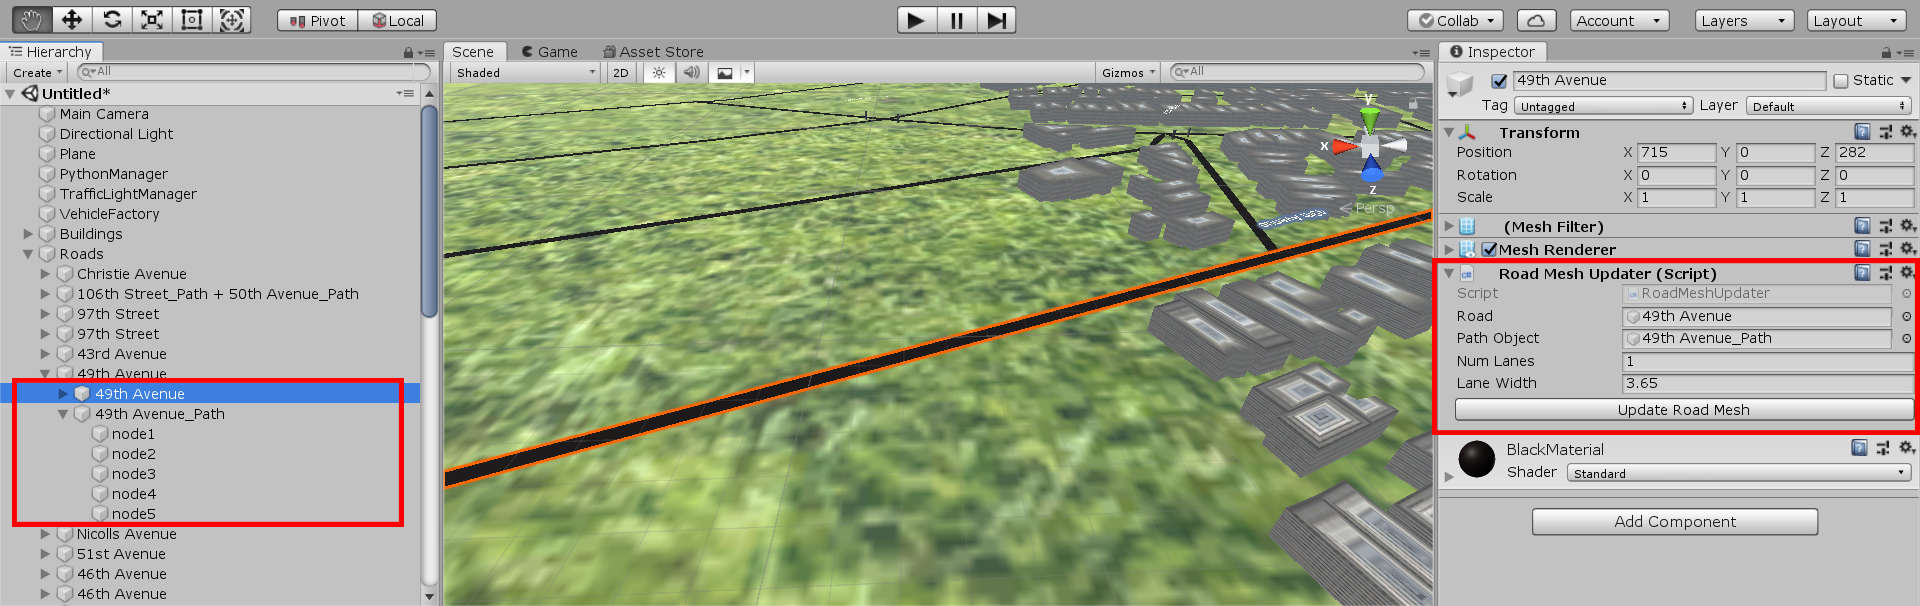
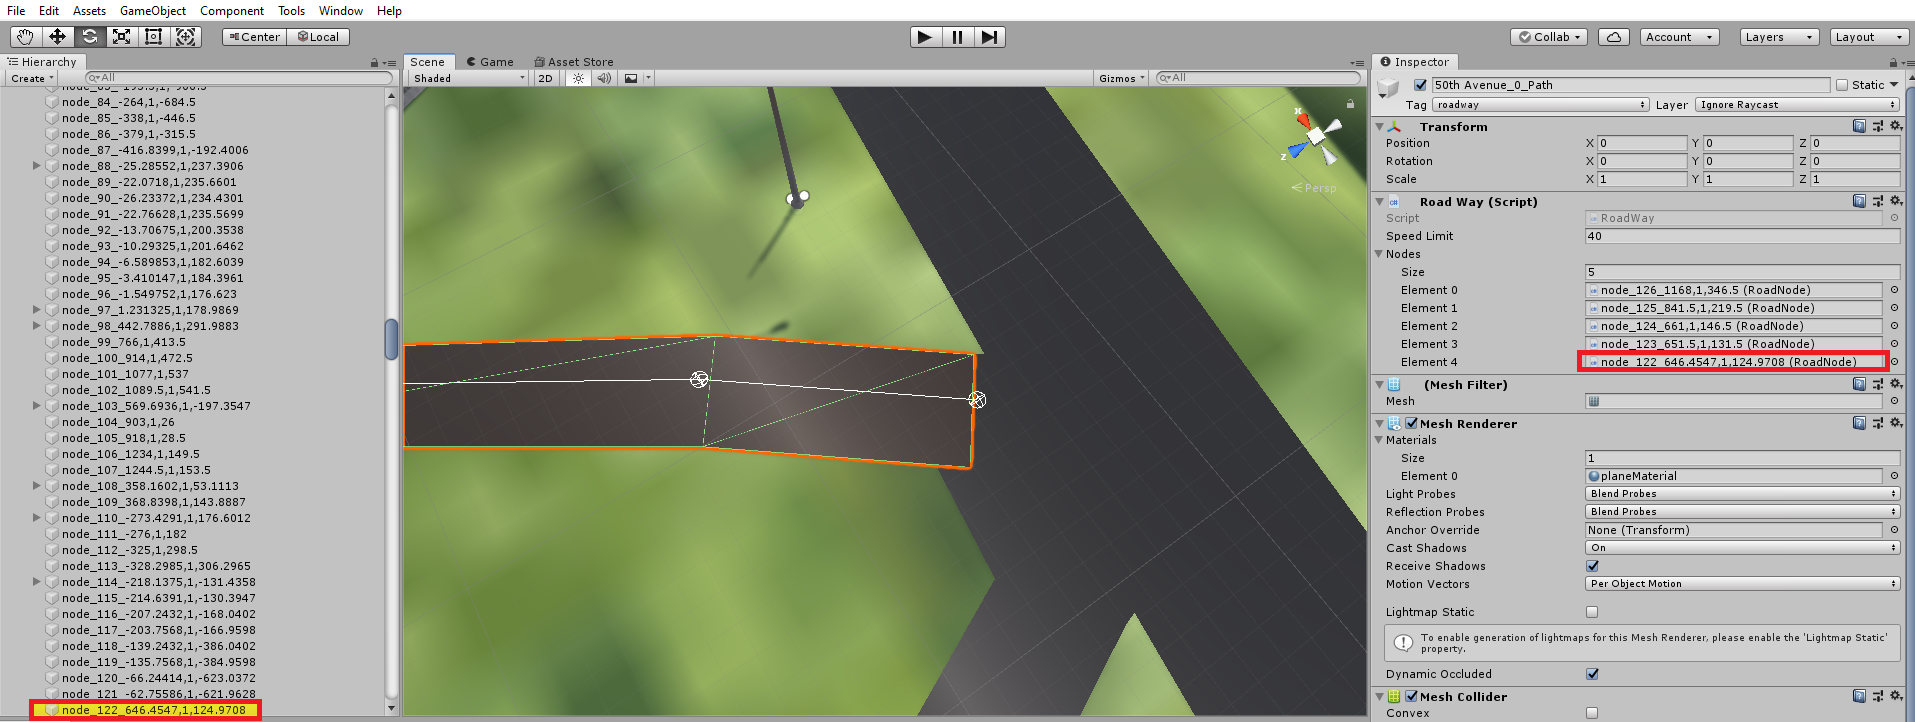
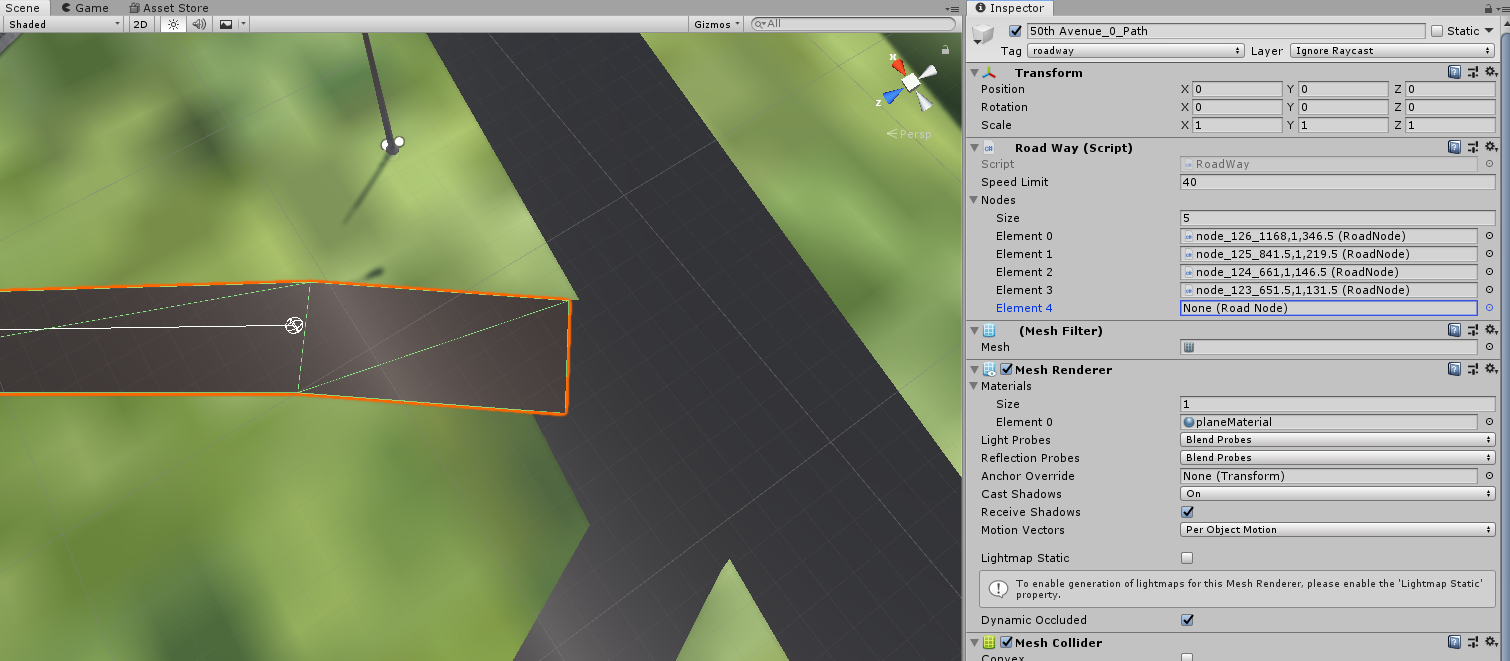
Modify a road's mesh
In the Unity inspector you will find a list of game objects.
A road will consist of a parent object, with two child objects.
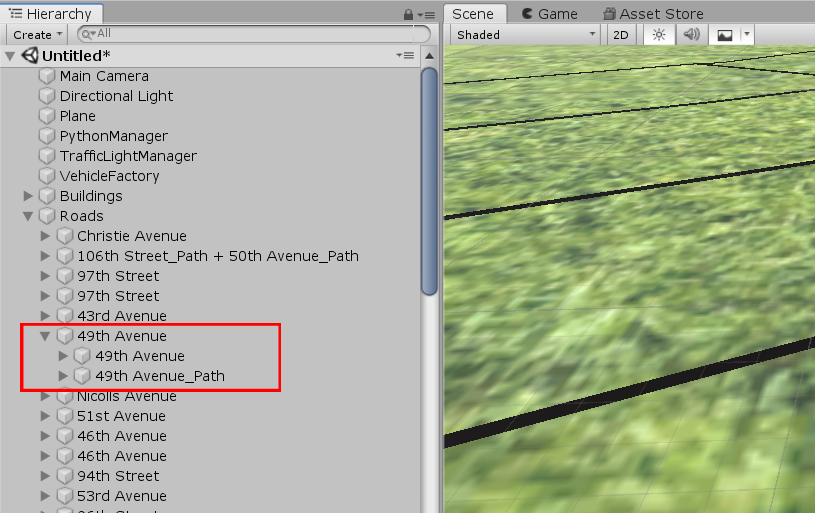
-
First Child Object - Contains the road mesh, a
Road Mesh Updatercomponent and has a child object positioned above the centre node, which displays the road name. -
Second Child Object - Contains a
RoadWaycomponent and has child objects representing nodes; information about theRoadWaycomponent can be found at Traffic3D Assets.
After modifying a path, the road's mesh can be quickly updated by selecting the Update Road Mesh button in the Road Mesh Updater component.
Road Mesh Updater
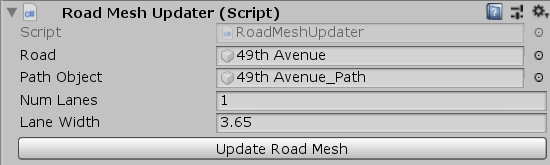
This is used to quickly update a road mesh by only requiring nodes in a Path to be modified, and will automatically modify the mesh when the Update Road Mesh button is selected.
The script has the following fields:
- Road - The game object the script is attached too, which should also contain the
Mesh RendererandMesh Filtercomponents. - Path Object - A game object with the Path component attached, and shares the same parent object as
Road. - Num Lanes - The number of lanes in the road.
- Lane Width - The width of each lane in meters.
- Update Road Mesh - A button which will change the shape of the mesh in the
Roadfield to match the shape of the path in thePath Objectfield.
Stop Line Renderer
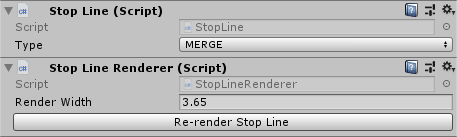
Stop Lines in OSM are automatically added to certain road nodes throughout the simulation.
When moving the stop lines, you may have to replace the render of the stop line.
This can be done by clicking on the relevant node and then clicking the Re-render Stop Line button.
Adjust the Render Width to extend the stop line, which is normally the width of the road.
To change the model of the stop line:
- Open the following prefab in Unity
Assets/Resources/Models/StopLineRender.prefab - Edit the object or replace this file with your own at the same file path.
Change road layouts
If the map has not been imported correctly or if a new road is being planned, you may need to change the road layout.
Definitions:
- Road way object - An object within the
RoadNetworkobject that has_Pathon the end of its name and has theRoadWayscript attached.
Here are some examples below:
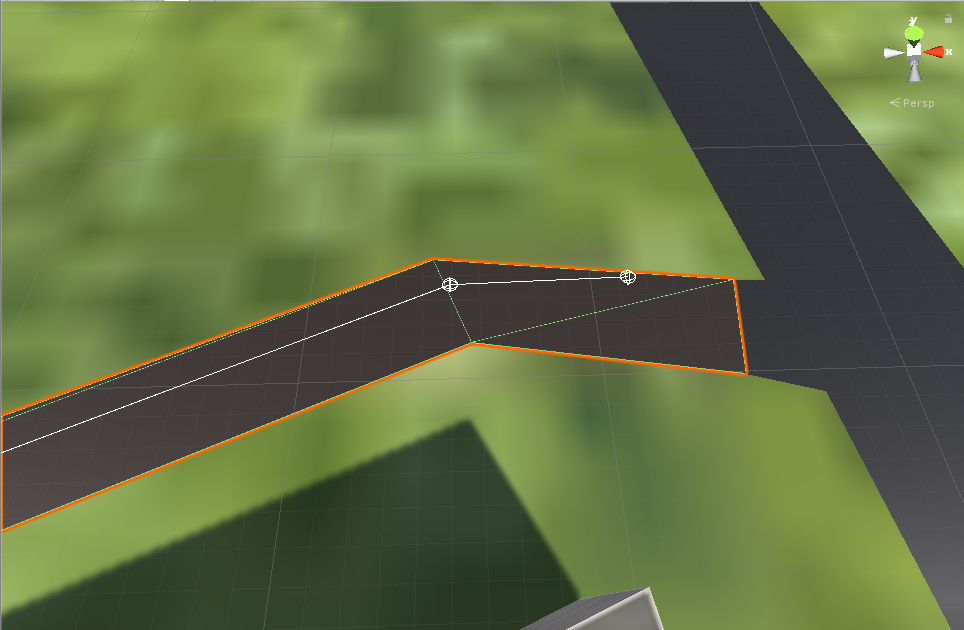
Changing a roadway by moving one node
- Click on the road way object you want to change.
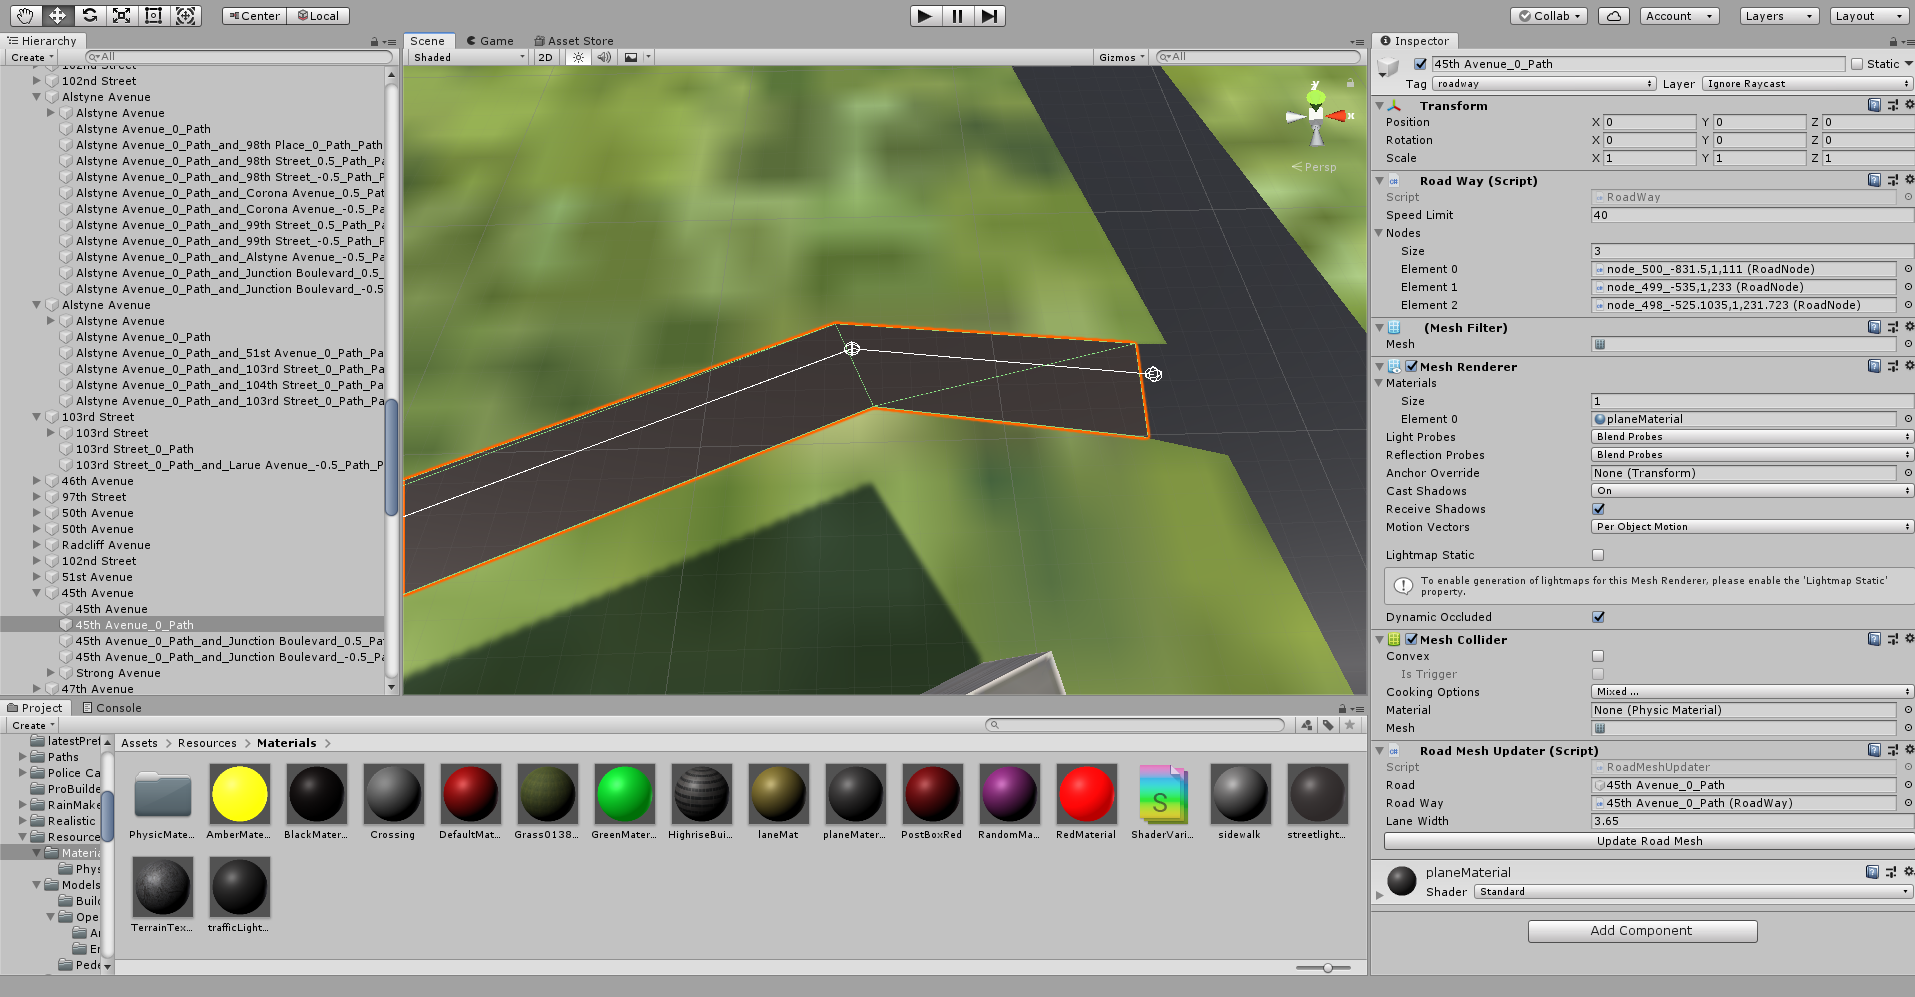
- Find the
RoadWayscript in the inspector and find the node you want to move in thenodeslist.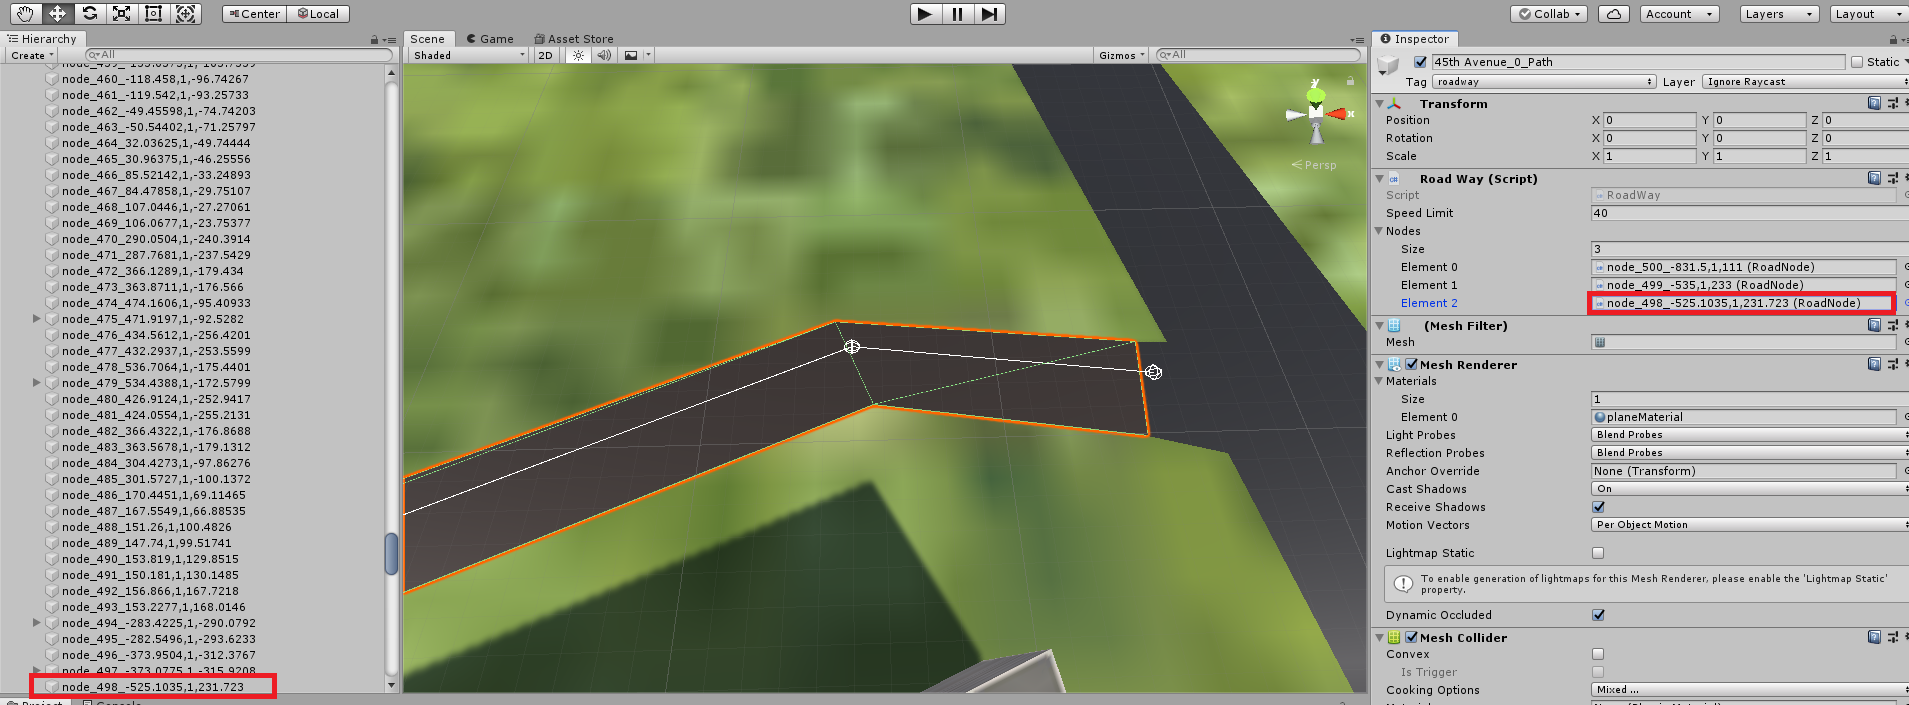
- Click on the node and it should be selected in the Hierarchy window.
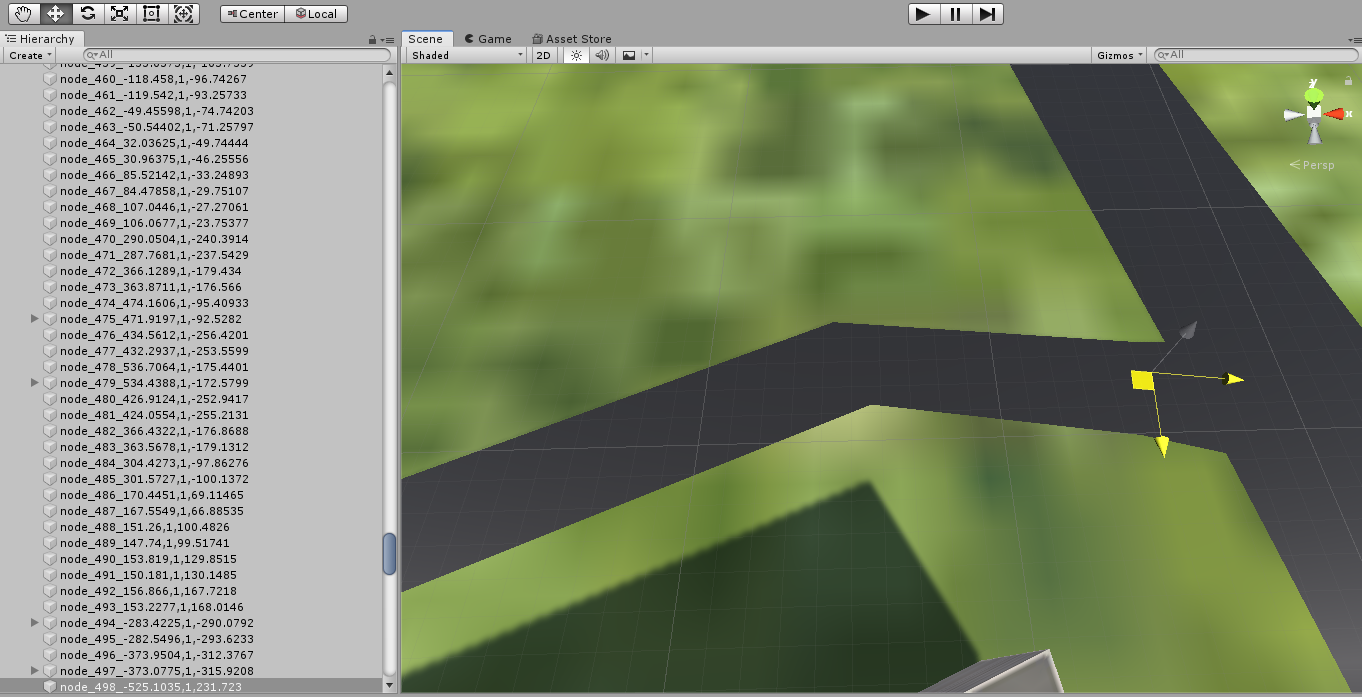
- Once selected, use the move tool to move the node in the new location.
- Repeat the previous steps to move other nodes into different places if needed.
- After this, the road mesh will need updating. On the same road way object, find the
Road Mesh Updaterscript and click theUpdate Road Meshbutton. This should then realign the road correctly.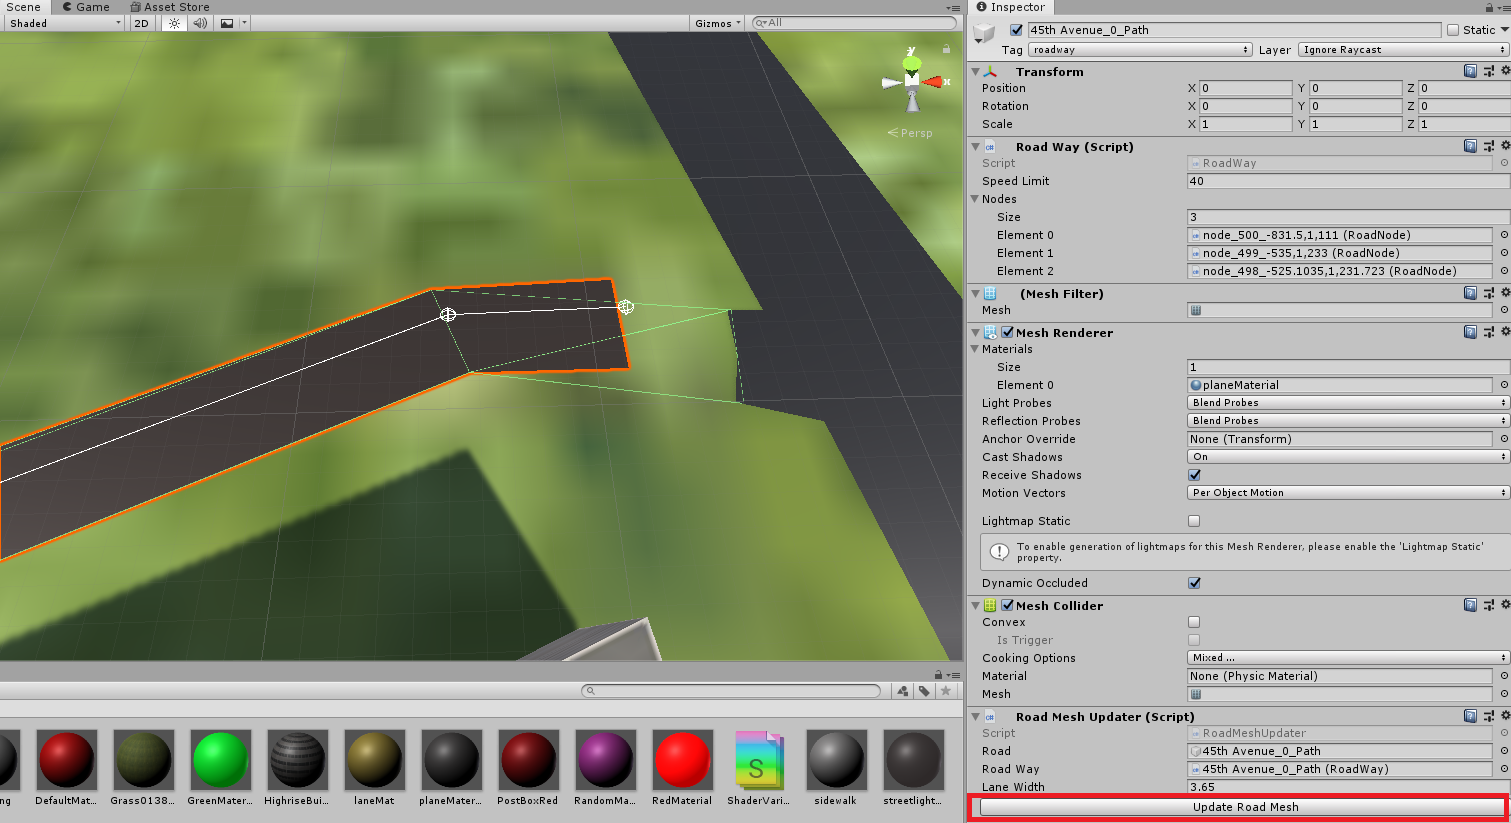
- If you have moved a node which has other roads attached, then do the same to the attached roads until all roads look correct.
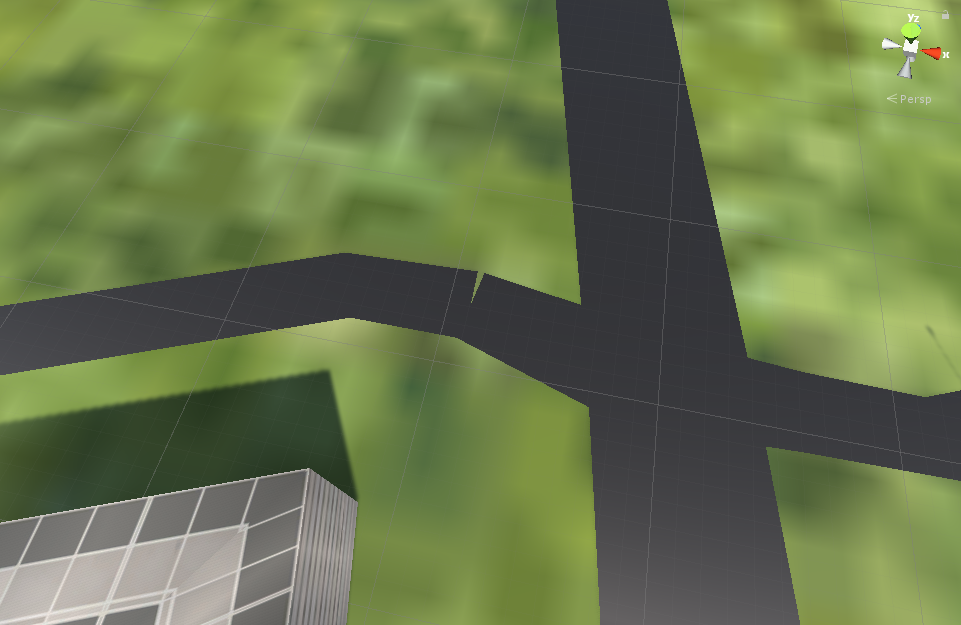
- If a road has a stop line connected, then you may also need to re-render the stop line.
Disconnecting a road
- Click on the road way object you want to disconnect.
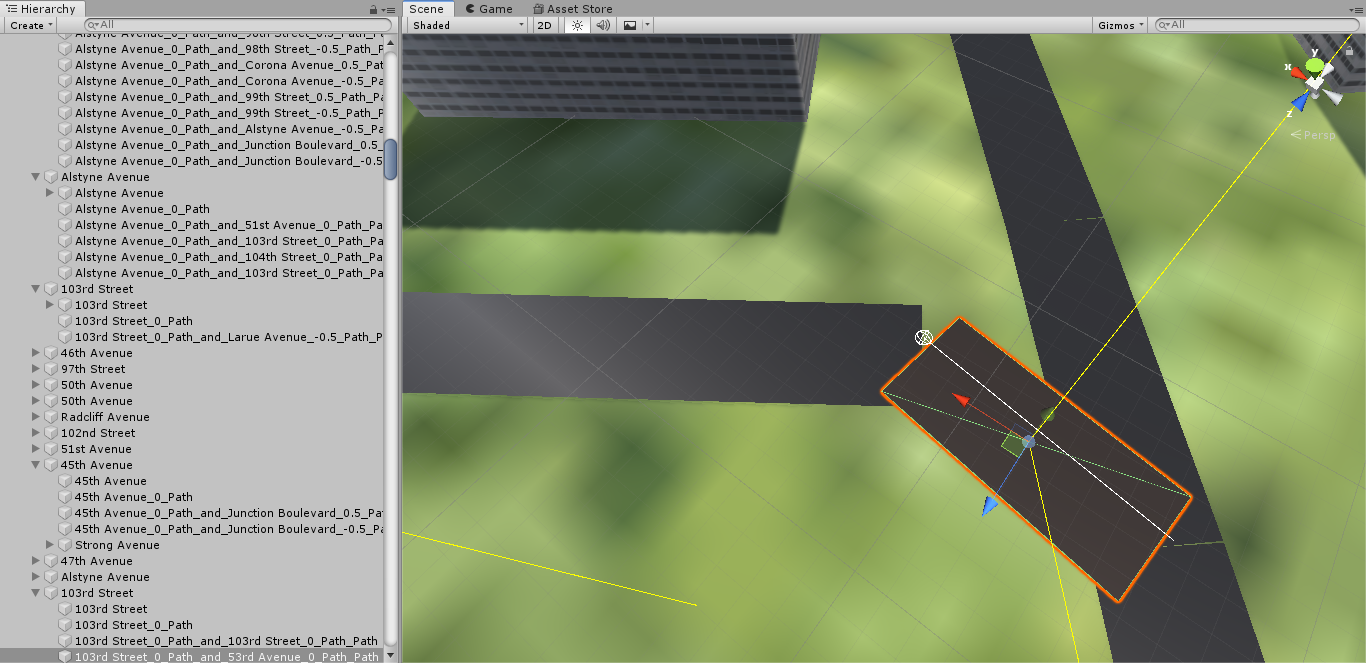
- In some cases, if it is only a short road way connecting both roads, deleting the road way object completely will disconnect the roads.
- Otherwise, select the node that is connecting both roads.
- Remove the node from the list. Make sure to rearrange the nodes so that the empty list element is at the end of the list. For example, if the start node was removed, then move the remaining nodes up the list.
- Update the list size to remove the empty last element in the list.

- Update the relevant road meshes and stop lines like the changing a roadway by moving one node section.
Adding Street Furniture Models
Please note that street lights do not rely on OSM data and are automatically placed along roads.
-
Find the name of the Open Street Map Amenity or Emergency item.
-
Navigate to
\Assets\Resources\Models\OpenStreetMap\then depending on which category the item is, navigate into either theAmenities\orEmergency\folder. -
Add a prefab model to the folder and rename it to the name found in step one e.g. Adding a post box model will mean re-naming the prefab model to
post_box.prefab. -
Import the OSM file as normal, then your models should appear where specified on OSM. If they do not appear, try checking the name of the prefab, as this needs to be exactly the same name as the item.
Limitations
The current version of the import system has some restrictions on the types of networks which can be modelled:
-
Only grid systems, such as those found in American cities, can currently be modelled as the system only supports cross junctions.
-
Variations in road heights, such as tunnels and bridges, are not supported and as all roads will be generated at the same Y-level.